
There is a great feeling you get when you work hard for something and you achieve your goal. As an athlete, I know that feeling well from the many marathons and Ironman triathlons that I have completed in my past. Most recently, I rode my ElliptiGO up Mt, Washington in New Hampshire on what has been called the toughest bicycle hill climb in the world. There is a great satisfaction is seeing all your hard work and training pay off no matter what the endeavor and I get that same satisfaction from creating activities to use in my classroom and seeing how successful they can be with my students.
 I spent countless hours this summer creating math logic puzzle scavenger hunts with a "capture the monster" theme that is similar to the idea of Pokemon GO. Being that is was the summer, I had no idea how it would go over with my fifth grade students. Yesterday was the third day of school and while our district has a new math series, they failed to give me the materials for my students. I thought that this would be a great time to start using these scavenger hunts with my new class. Much to my satisfaction, everything worked perfectly just as it was designed and my students were thoroughly engaged and enthusiastic.
Here is a quick summary of the games from the full bundle of all these Capture the Monster games:
GO and Capture the Monsters Scavenger Hunt Game Bundle" is a complete "Move Around Math" puzzle solving game that gets students out of their seats as they use number strategies to solve math problems. While designed for fourth and fifth grade classrooms, it would also work well in many sixth grade classrooms.
Your students must be intrigued with the popular new game where they use their phones to go outside, hunt for, and capture anime characters. You know they will be missing playing this game when they are in school. These "Capture the Monsters" games will allow your students to have fun, think critically about math, and capture anime characters at the same time and they can do it during class time.
There are a total of 15 unique animal monsters that students can capture as they finish each game.
There are three game plays for each scavenger hunt set for a total of 15 games. Each game set uses the same 10 station cards (which can be taped on the walls of the classroom). Students can play each game three different times in order to reinforce their thinking and to capture all three monsters. Each game can be played on different days or weeks and in any order. Students can be given different monster cards and can be working on different game plays at the same time as their classmates.
This game includes directions as well as the story of the monsters. There are stations and student worksheets for all versions of the game. Answer sheets are included as well as color and black and white versions of each of the monsters in card form to hand out when students "capture a monster". There is also cover pages for making a booklet for the captured monsters as well as extra bonus cards for your students to earn.\
Each game set is also sold separately
.
 I wanted to start with the addition scavenger hunt with my class. Here is what I became excited about. First, every student was very into the game after I gave the instructions and we did a sample problem together on the board. As the students went around the room solving the problems at the different stations, they were at first a bit unsure of how to solve the puzzles. Most caught on quickly, others needed a little support from myself or the classroom para. Not one kid showed frustration with the difficulty, but all students were challenged. At times they thought there was a "mistake" with a puzzle because the number they chose did not add up. I was able to show them that they had to try a different way to solve the puzzle if it didn't work correctly the first way. As they went along, the "buzz" in the classroom was one of discovery and excitement.
 I used about an hour of class time and the kids still wanted to keep working on their puzzles, but we had to go to lunch. About one half of the class completed the 10 logic puzzles that they had been assigned and earned a monster card which they were able to color in and place in a monster card notebook that they created. The rest were told that they could finish the puzzles in their free time and before school and then get their monster card. They were enthusiastic about this.
The kids liked the monster cards and I heard many of them commenting on their favorite monsters.
 I was most enthusiastic about the fact that it all worked so well after all my work. I was also thrilled that all the puzzles were right on target for my grade level and that every puzzle I made was accurate. This was satisfying as each of the games has 10 stations with the same logic puzzle card, but there are three different versions of each game. I divided the three different puzzles evenly with my students so there were three different versions of the game going on all at the same time. This was difficult when creating the puzzles as I had to get everything to work together and they did! It also upped the enthusiasm level as kids soon realized they were solving different puzzles than their friends and were going to earn different reward cards.
Next week when the students complete the other two versions of the addition puzzles, they should be able to solve them much quicker and with greater ease as their ability to reason out the solutions will be increased. Mission accomplished!
Each set of games is sold separately or you can purchase the whole set as a bundle. I also created a free version of one of the games if you would like to try it out with your class. The addition monster game set that I used in my class will be on sale for 1/2 price for a few days. You can find it here.
 |
| Here is a free version on one multiplication game. |
 |
| Here are the Candy Monster Mixed Operations games. |
 |
| Here are the Fire Monsters Multiplication Games. |
 |
| Here are the Water Monsters Addition Games. |
 |
| Here are the Wind Monsters Division games. |
 |
| Here are the Light Monsters Subtraction games. |
|
| Here you can get the complete bundle at a reduced price. |
I am real proud of creating this series of scavenger hunt games. It was very hard work. It felt like I was working harder than I do when I am in training for an endurance race! There are a couple of things I learned as a Teacher Pay Teacher creator that helped make my job easier.

When I first thought of the concept of this game there was one thing I knew I couldn't do well and that is create the monster characters. I was fortunate to find an artist who created the characters and I was able to license them for use in this product. Her characters were just perfect for what I had in mind. Tip #1 Find and pay for the resources that will make your job easier when creating a new product. I have gone on to purchase more of her clip art for other TPT products that I have created.
One of the most difficult steps in creating a product like this is getting everything right, including the math problems! I used up a couple of pads of paper trying out different number combinations and checking and rechecking my math and numbers. I was becoming math weary when I remembered that I had a Amazon Echo. I knew that I could ask my Echo questions and it would respond, so I tried it with my math questions. It worked! I was able to double and triple check my math using the Echo and it made my job that much easier. Last year I got a project funded through Donor's Choose to purchase an Amazon Echo for use in my classroom. I was thinking it would work for spelling and fact type questions. My students were fascinated that it could do math. Of course, I hit the button to turn it off, when my my students were doing these puzzles! Tip #2 Be creative with techology!


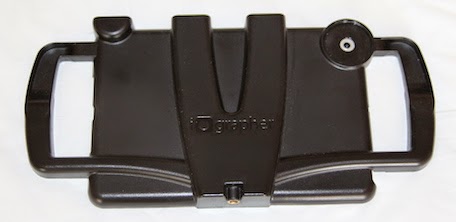


 . Models are made to fit the
  , the
, the  , and the
  ,
,


 will do the job for under $20. While you definitely want a tripod, you might also want a monopod/selfie stick. I don't think this will be used as much as a tripod, but I ordered one of these heavy duty ones that will take the heavier weight of the Ipad or even a DSLR camera. It might come in handy on field trips, when we don't want to bring a tripod. This is what I ordered:
  . In the past when my students were making videos, I usually held the iPad when they
  for those instances where students might want to control the recording of a video themselves while using the tripod. This like the monopod are not must have items, but add-ons you might want to consider.
 . This adds a lot of variety to classroom photos and videos. It was fun making
  , but it didn't take as dramatically different photos as the fish-eye or I just haven't found the right use for it yet. I did order a Polaroid 2X telephoto lens, but it was sold out after my order was madeand I was not able to replace it with another lens, so someday I hope to order a lens like this to see if it works well
  .
.

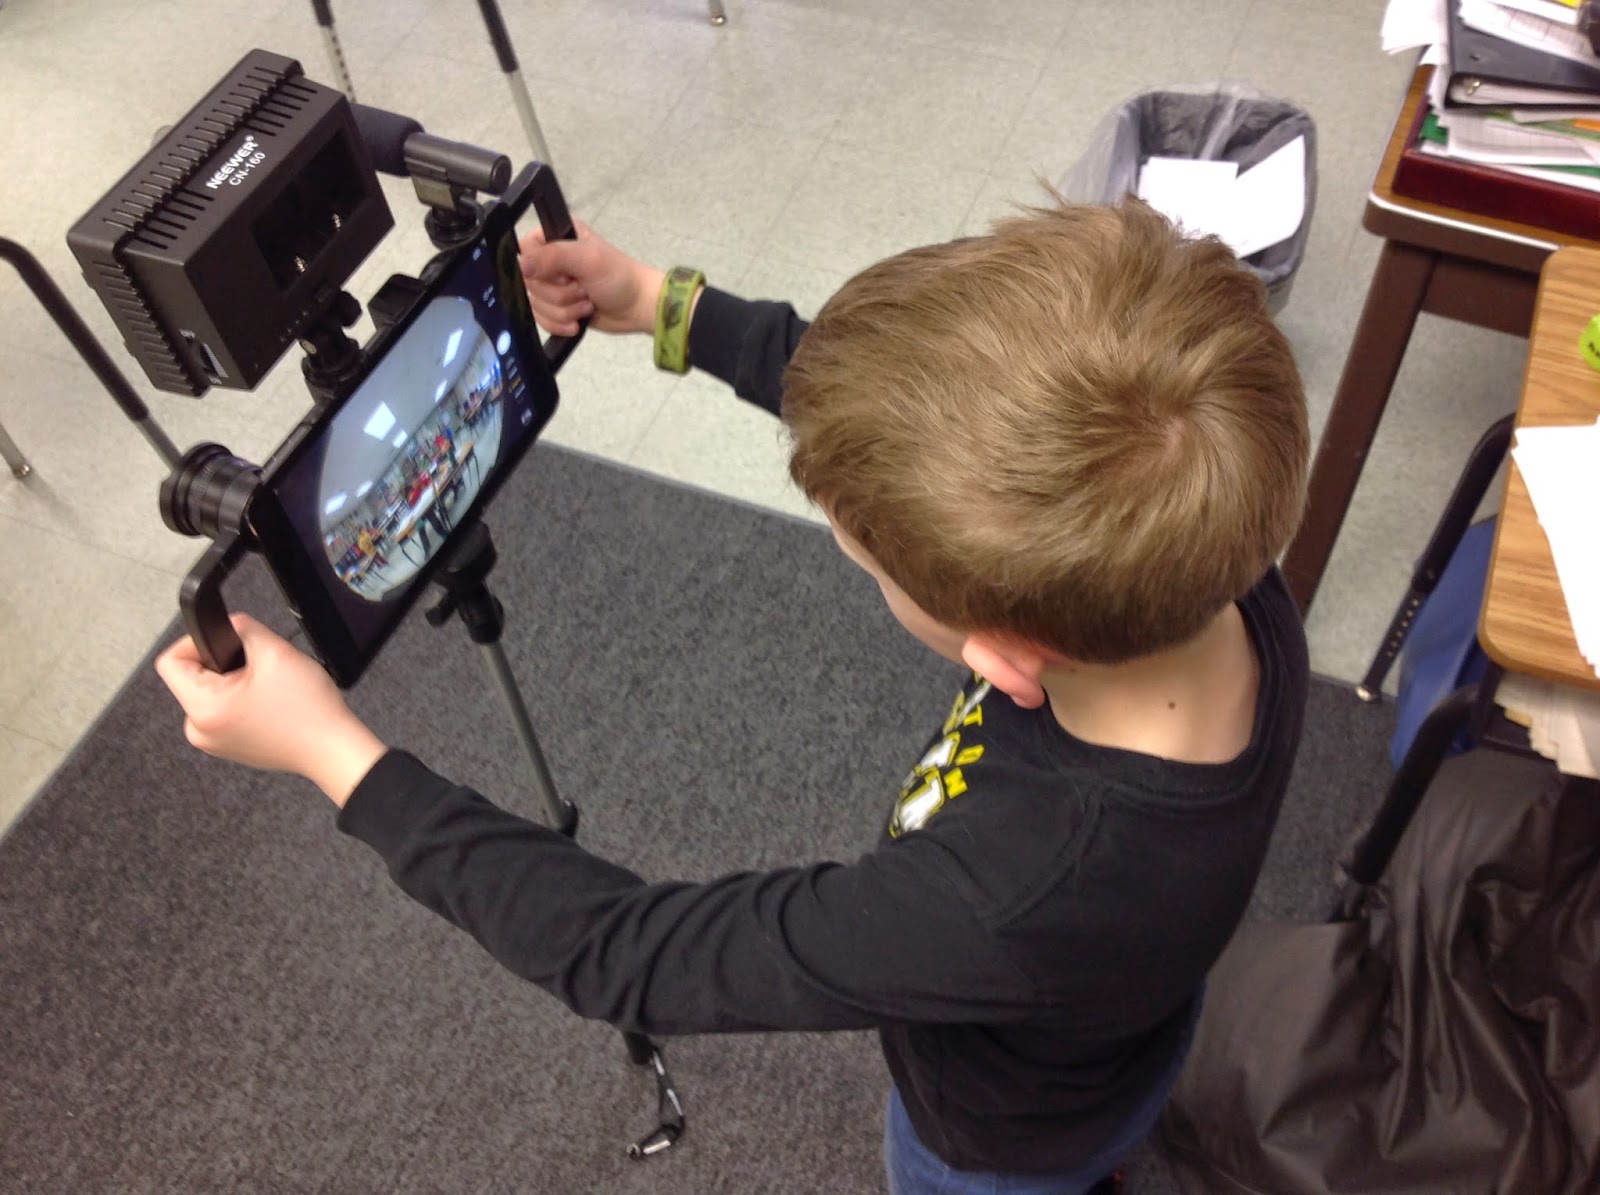
 . At first I placed in the mount right over the camera so I could plug it into the headphone jack on my iPad. Then I noticed that the end of the mic showed up in my photos. It won't fit on the middle mount when the light is also mounted, so I had to place it on the mount furthest from the headphone jack. The wire from the mic to the jack is just too short. You can plug it in and then mount the jack, but it is stretched to its limit and may break over time. I then ordered this cable to make the connection easier:
  .
.
 which also comes with a couple of filters. You will need batteries or an energy pack to run this. I am still waiting for the batteries I ordered, so I haven't tried it out yet. Thisi should work well in low light conditions or to remove shadow from the faces of people in videos.
